Effortless FTP Server Setup: Learn the step-by-step process to establish and manage your FTP server. Harness the power of Windows 11 for seamless file sharing.
What is FTP Server?
FTP (File Transfer Protocol) Server is a software application that runs on a server and enables users to transfer files between computers over a network, typically the internet. It allows users to upload, download, and manage files stored on the server using an FTP client, which is software installed on a user’s computer or device.
How to install an FTP server on Windows 11?
Very similar to previous versions, Windows 11 includes the necessary components to run an FTP server. Follow the steps below to install an FTP server on your PC:
1. Use the Windows key + R keyboard shortcut to open the Run and type appwiz.cpl, click OK as shown in below Image 1

2. Click on Turn Windows features on or off in the left site as shown in image 2

3. Expand Internet Information Services and check the FTP Server option.
4. Expand FTP Server and check the FTP Extensibility option.
5. Check Web Management Tools with the default selections.
6. Click OK to begin the installation. As shown in Image 3

7. Click Close.
Now you have installed FTP features. Now you need to configure FTP.
How to configure an FTP site on Windows 11?
After installing the necessary components to run an FTP server on your PC, you need to create an FTP site using the following instructions:
1. Use the Windows key + R keyboard shortcut to open the RUN and type inetmgr, click OK as shown in image 4

Internet Information Services (IIS) Manager.

4. Expand and right-click Sites on the Connections pane.
5. Select Add FTP Site.

6. Name your new FTP site and enter the path to the FTP folder you want to use to send and receive files.
Note: You can also use the Make New Folder button to create a specific folder to store your FTP files.
7. Click Next. As shown in Image 7

8. On Binding and SSL Settings leave all the default settings but change the SSL option to No SSL. As shown in Image 8

Note: -
It's worth pointing out that in a business environment or on an FTP server that will host sensitive data, it's best practice to configure the site to require SSL.
9. Click Next.
10. On Authentication, check the Basic option.
11. On Authorization, select Specified users from the drop-down menu.
12. Type the email address of your Windows 10 account or local account name to allow yourself access to the FTP server.
13 Check the options Read and Write.
14. Click Finish. As shown in Image 9


How to allow an FTP server through Windows Firewall
If you have Windows Firewall running on your computer, then the security feature will block any connections trying to access the FTP server. Use the steps below to allow the FTP server through the firewall.
1. Open the Start menu, do a search for Windows Firewall, and press Enter. As shown in Image 11

2. Click the Allow an app or feature through Windows Firewall link. As shown in Image 12

3. Click the Changes settings button as shown in Image 13

4. Select FTP Server and make sure to allow it on a Private and Public network.

5. Click OK.
At this point, you should be able to use your favorite FTP client to connect your newly created FTP server from your local network.
Note: -
Make sure to check your software vendor support website for specific instructions to allow an FTP server, if you're using another security software other than the Windows Firewall.
How to configure a router to allow external connections
For your FTP server to be reachable from the internet, you need to configure your router to open TCP/IP port number 21 to allow connections to your PC.
The instructions to forward a port will vary from router-to-router, but below you’ll find the steps to configure most routers. (For more specific instructions to forward TCP/IP ports, you should check your router’s manufacturer support website.)
- Use the Windows key + R keyboard shortcut to open RUN and type CMD, Press Enter.
- Type the following command: ipconfig and press Enter.
- Make note of the Default Gateway IP address, which is the IP address of your router. Typically, it’s private address in the 192.168.x.x range. For example, 192.168.1.1 or 192.168.2.1.
- Open your default web browser.
- On the address bar enter the router’s IP address and press Enter.
- Sign-in with your router credentials.
- Find the Port Forwarding section — usually you’ll find this feature under the WAN or NAT settings.
- Create a new port forwarding that includes the following information:
- Service name: You can use any name. For example, FTP-Server.
- Port range: You must use port 21.
- PC’s TCP/IP address: Open Command Prompt, type ipconfig, and the IPv4 address is your
PC’s TCP/IP address. - Local TCP/IP port: You must use port 21.
- Protocol: TCP.
- Service name: You can use any name. For example, FTP-Server.
- Apply the new changes and save the new router configurations.
You can also watch YouTube video from below link.
How to access an FTP server from any PC
Here’s the quickest way to test your FTP server, after configuring the firewall, and forwarding port 21 on your router.
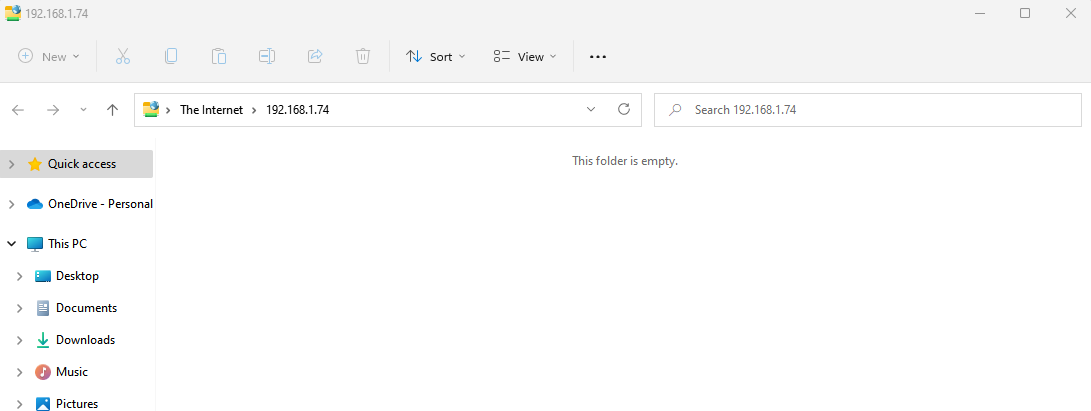
Open File Explorer and in the address, bar type your Windows 11 PC IP address, on an FTP link format, and press Enter. The address should look like this: FTP://192.168.1.74 As shown in Image 15

Enter Username and Password As shown in Image 16

FTP is open now as shown in Image 17
I'm using Internet Explorer, because Microsoft Edge seems not to include the functionality to browse FTP sites. You can also opt to use Chrome, Firefox, or another modern web browser.
To test if your FTP server is reachable from the internet, visit Google or Bing, do a search for “What’s my IP?”. Note your public IP address from the results and type it into the address bar using the FTP link format and press Enter.
If you get a login prompt, then everything is working as expected. Simply enter your account credentials and you’re should be able to sign-in.
How to upload files to an FTP server on Windows 11
Keep in mind that the method shown above is only useful to test, browse, and download files from an FTP site. You will have to use the following instructions to be able to browse, download and upload files.
- Use the Windows key + E keyboard shortcut to open File Explorer.
- On the address bar type your public IP address on an FTP format. Example: –
FTP://172.217.3.14. - Enter your username and password.
- Check the Save password option.
- Click Log On.
Using this method, you can browse, download, and upload files as if FTP server was just another drive connected to your computer.
Furthermore, you can also right-click Quick Access on the left pane and select Pin current folder to Quick Access to easily reconnect to the FTP server at a later time.
Quick Tip: You’re not limited to use only File Explorer; you can use any FTP client like the popular FileZilla open source software to transfer files over a local or public network.
How to create multiple FTP accounts on Windows 11
If you want to allow other people to access your FTP server too, you can create multiple accounts with specific permissions to download and upload files.
To let other people, access to your FTP server, you need to create a new Windows 10 account for each user, associate each account with the FTP home directory, and configure the appropriate settings. Follow the steps below to accomplish these tasks:
Add a new user account on Windows 11
- Use the Windows key + I to open the Settings app.
- Click Accounts.
- Click Family & other users.
- Click Add someone else to this PC.
- Click the I don’t have this person’s sign-in information link.
- Click the Add a user without a Microsoft account link.
- Enter the new user account information and click Next to complete the task.
Note: -
This account will be accessed from the internet, as such make sure to use a strong and secure password
Add a new user account to access the FTP folder
- Right-click the FTP folder and select Properties.
- Click the Security tab.
- Click Edit.
- Click Add.
- Enter the user account name and click Check Name.
- Click OK.
- On Group or usernames, select the user account you just created, and select the appropriate permissions.
- Click Apply.
- Click OK.
Configure a new user account to access the FTP server
- Use the Windows key + X keyboard shortcut to open the Power User menu and select Control Panel.
- Open Administrative Tools.
- Double-click Internet Information Services (IIS) Manager.
- Expand Sites.
- Select the FTP site and double-click Authorization Rules.
- Right-click on and select Add Allow Rules from the context menu.
- Select Specified user and enter the name of the Windows 11 user account you created earlier.
- Set the Read and Write permissions you want the user to have.
- Click OK.
Now the new user should be able to connect to the server with their own credentials. Repeat the steps mentioned above to add more users to your FTP server.