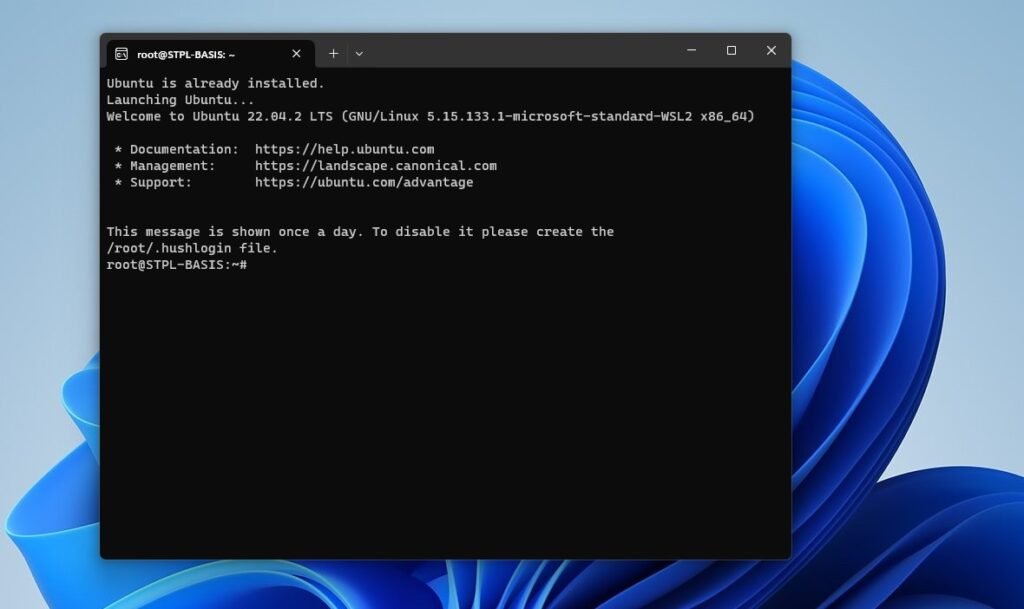
Learn how to set up the Linux Windows Subsystem on your Windows 11 PC with this comprehensive step-by-step guide. Start using Linux within your Windows environment effortlessly.
Linux Windows Subsystem: – Installing by using Command Prompt
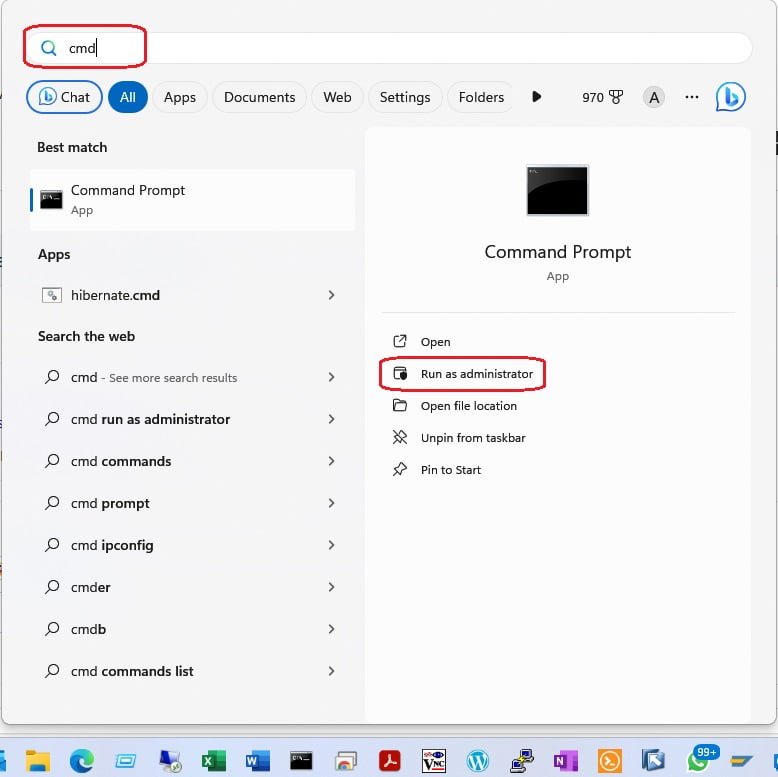
Step 1: – Open Start menu and type “CMD” into the search bar and Open CMD with administrative privilege as shown in below image.
Step 2: – Execute “wsl –install” command as shown in below image.
wsl --install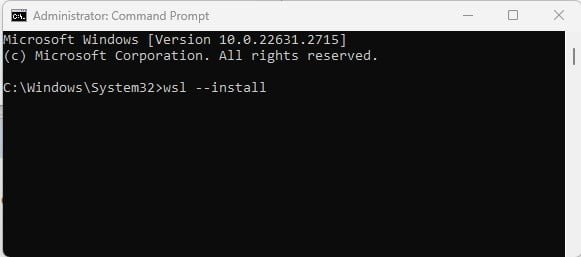

Step 3: – Run “wsl -l -o” to list other Linux releases.
wsl -l -o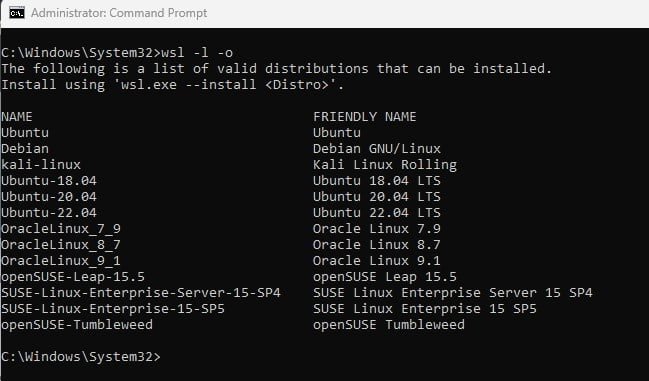
Step 4: – You can install your favorite Linux distribution, use “wsl –install -d NameofLinuxDistro.”
wsl --install -d UbuntuWhen the operation is finished, restart your PC. You can start the Linux distribution from your Start menu.
Linux Windows Subsystem: – Install Using Windows Features
Step 1: Open the Start menu and type “Windows features” into the search bar and click on “Turn Windows Features On or Off” as shown in below image.
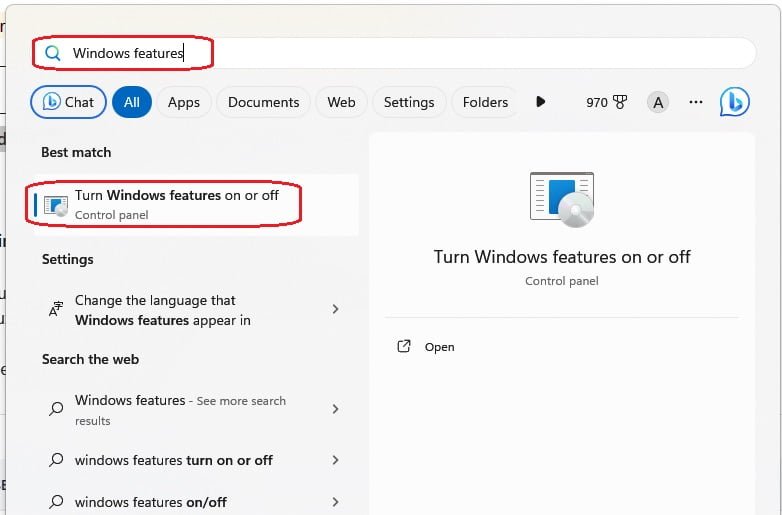
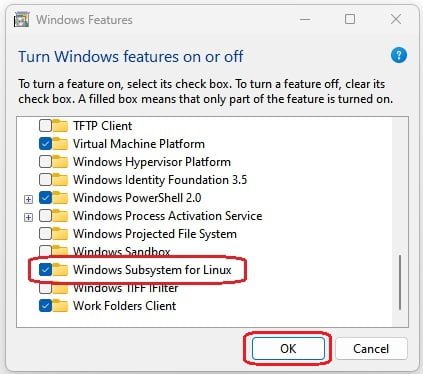
Step 2:Tick the “Windows Subsystem for Linux” checkbox and press the “OK” button as shown in below image.
Step 3: When the operation is complete, you will be asked to restart your computer.
After that, use the Microsoft Store app and look for the Linux distribution you want to use. Install the Linux distro of your choice.
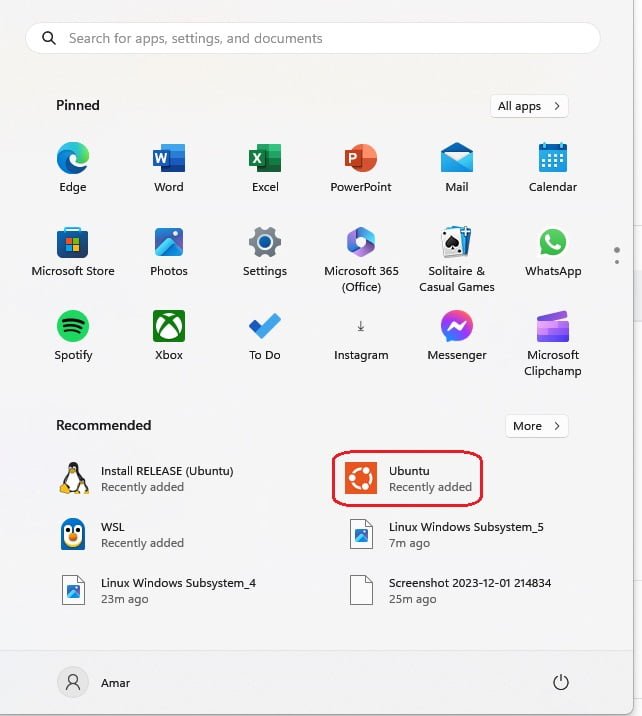
Step 4: The Linux distribution can be launched from the Start menu as shown in below image.
