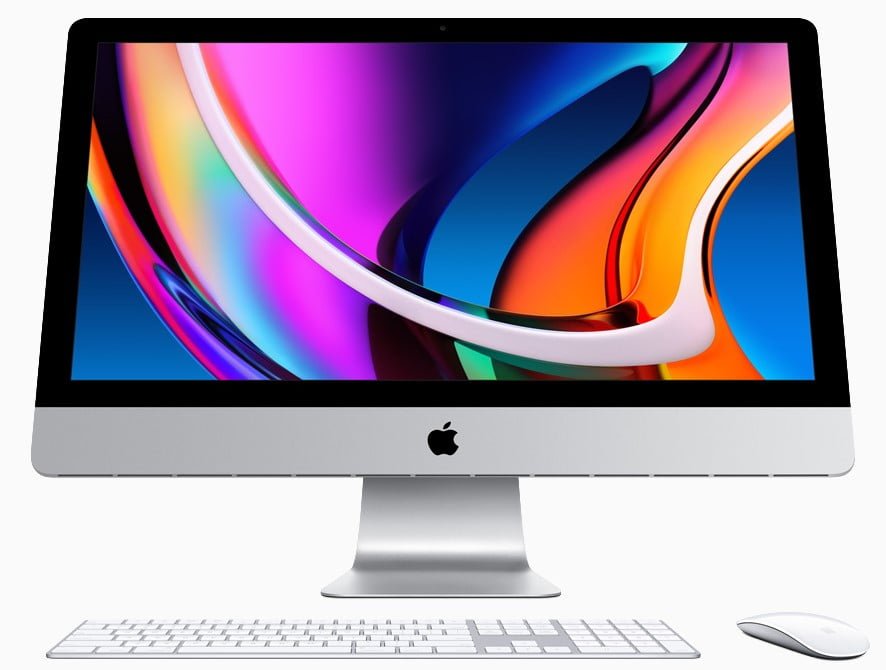
Capture your Mac screen with ease! Learn how to take screenshots on your Mac using keyboard shortcuts, the screenshot utility, and more. Elevate your screenshot game with our step-by-step guide.
Introduction:
Are you a proud owner of a Mac and wondering how to take screenshots on it? Whether you’re looking to capture your favorite moments, save important information, or troubleshoot technical issues, taking screenshots on your Mac is a handy skill to have. In this step-by-step guide, we’ll walk you through the various methods to screenshot on your Mac, whether you’re using a MacBook or an iMac.
Table of Contents:
- Using Keyboard Shortcuts
- How to Capture the Entire Screen
- Capturing a Specific Area
- Screenshot of a Single Window
- Using the Screenshot Utility
- Accessing the Screenshot Utility
- Customizing Screenshot Settings
- Saving Screenshots to Preferred Locations
- Using Preview to Capture Screenshots
- Utilizing the Preview App
- Annotating and Editing Screenshots
- Taking Screenshots with the Touch Bar (MacBook Pro)
- How to Enable Touch Bar Screenshot Controls
- Capturing Screenshots on Mac with Timed Delays
- Using the Timer for Delayed Screenshots
- Where to Find Your Screenshots
- Locating Screenshots on Your Mac
- Advanced Tips and Tricks
- Keyboard Shortcut Customization
- Using Third-Party Screenshot Apps
1. Using Keyboard Shortcuts:
- How to Capture the Entire Screen: To capture the entire screen, press
Command (⌘) + Shift + 3simultaneously. The screenshot will be saved on your desktop. - Capturing a Specific Area: For capturing a specific area, press
Command (⌘) + Shift + 4, then select the area you want to screenshot using your mouse. - Screenshot of a Single Window: To screenshot a single window, press
Command (⌘) + Shift + 4, followed by theSpacebar. Click on the window you want to capture.
2. Using the Screenshot Utility:
- Accessing the Screenshot Utility: Open the “Screenshot” utility by pressing
Command (⌘) + Shift + 5. - Customizing Screenshot Settings: Learn how to customize screenshot settings for different purposes.
- Saving Screenshots to Preferred Locations: Discover how to choose where your screenshots are saved.
3. Using Preview to Capture Screenshots:
- Utilizing the Preview App: Learn how to capture screenshots using the built-in Preview app and annotate them.
4. Taking Screenshots with the Touch Bar (MacBook Pro):
- How to Enable Touch Bar Screenshot Controls: If you have a MacBook Pro, you can take screenshots using the Touch Bar. Learn how to enable this feature.
5. Capturing Screenshots on Mac with Timed Delays:
- Using the Timer for Delayed Screenshots: Find out how to set a timed delay before capturing a screenshot.
6. Where to Find Your Screenshots:
- Locating Screenshots on Your Mac: Discover where your Mac saves the screenshots you’ve taken.
7. Advanced Tips and Tricks:
- Keyboard Shortcut Customization: Customize keyboard shortcuts for your screenshot preferences.
- Using Third-Party Screenshot Apps: Explore third-party applications that provide advanced screenshot features.
Conclusion: Taking screenshots on your Mac is a breeze once you understand the different methods and shortcuts available. Whether it’s for work, creative projects, or simply capturing memorable moments, the versatility of Mac’s screenshot capabilities ensures you can capture and share exactly what you need. Experiment with these methods to find the one that suits your needs best, and elevate your Mac user experience with this valuable skill.