This article explains why you might not be able to create a system restore point during startup and provides steps to fix the issue
The next step is to use the Task Scheduler to create a new task that will run at startup to trigger a new restore point using these steps:
- Open Start.
- Search for Task Scheduler, click the top result to open the experience.
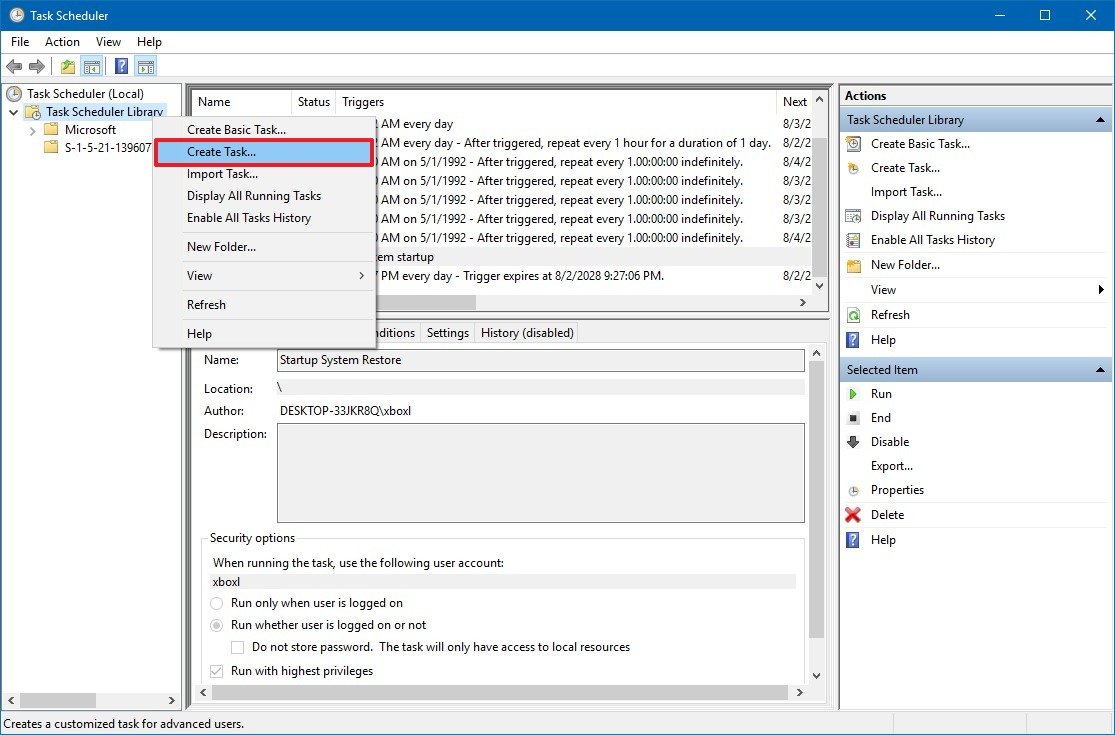
- Right-click the Task Scheduler Library folder.
- Click the Create Task option.

Click on the General tab.
In the “Name” field, type a descriptive name for the task. For example, My Restore Point Startup.
Under “Security options” select the Run whether the user is logged on or not option.
Check the Run with highest privileges option.

Click on the Triggers tab.
Click the New button.

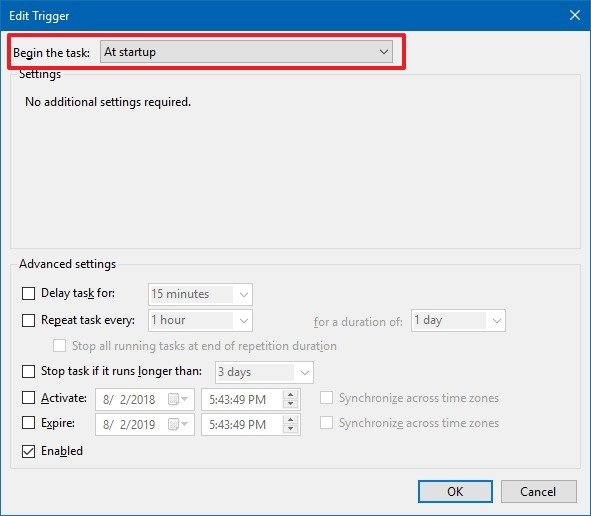
Use the “Begin the task” drop-down menu and select the At startup option.

Click the OK button.
Click on the Actions tab.
Click the New button.

Use the “Actions” drop-down menu and select the Start a program option.
In the “Program/script” field, type the following command: –powershell.exe
In the “Add arguments (optional)” field, type the following command: –ExecutionPolicy Bypass -Command "Checkpoint-Computer -Description \"My Restore Point Startup\" -RestorePointType \"MODIFY_SETTINGS\""

Click the OK button.
Click the Conditions tab.
Under “Power” clear the following two options: –
Stop if the computer switches to battery power. Start the task only if the computer is on AC power.

Click the OK button.
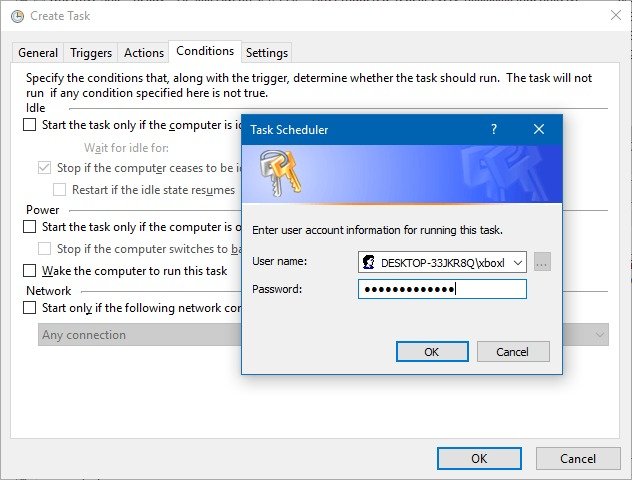
Specify the password for your account.

Click the OK button.
Once you’ve completed the steps, the new task will appear in the Task Scheduler Library folder, and it’ll run to create a new system restore point every time you start your device.
You can always stop running the task by right clicking the task inside the “Task Scheduler Library” folder and selecting the Delete option.
Checking system restore points
After following the above instructions, you can make sure that system restore points are being created by restarting your device, waiting around five minutes, and using these steps:
- Open Start.
- Search for Create a restore point and click the top result to open the experience.
- Click the System Restore button.
- Select the Choose a different restore point or click the Next button.
After completing the steps, if the task ran as expected, a new restore point with the “My Restore Point Startup” description should appear in the list. If you’re not seeing new restore points being created, review the steps as the problem is likely a typo or mistake in the command. Moving forward, every time you turn on or reboot your device, Windows 10 will create a restore point that you can use to revert system changes if your computer isn’t working correctly without affecting your files or removing many of the configurations you may have recently made.