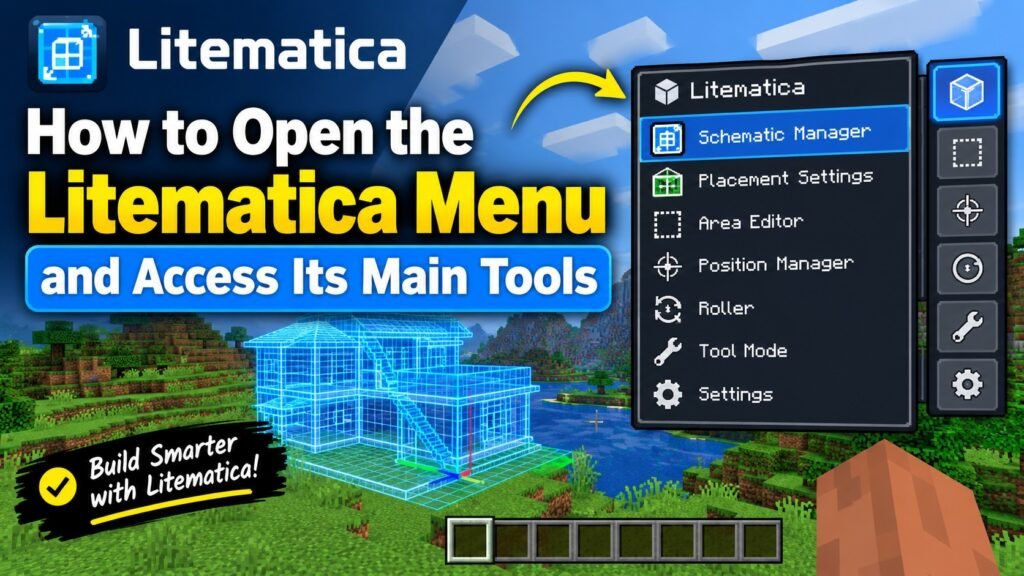
Opening the Litematica Menu
To open the Litematica menu in Minecraft, press the M key on your keyboard. This is the default hotkey used by Litematica, and it should bring up the mod’s main menu immediately. From there, you can access important options for schematics, placements, area selections, rendering, and configuration.
Make sure you are playing with Litematica properly installed and loaded. The menu will not appear if the mod is missing, disabled, or incompatible with your Minecraft version. It is also best to test the key while you are in a normal game world rather than on the title screen.
What to Do If M Does Not Work
If pressing M does nothing, the key may have been changed or assigned to another action. Open Minecraft’s control settings and look for the Litematica keybinds. Depending on your version and mod setup, these options may be grouped under a Litematica or MaLiLib category.
Check the hotkey assigned to the main menu and choose a key that is not already being used. You can also try resetting the control to its default value. A keyboard layout, conflicting mod, or incorrectly installed dependency can sometimes prevent the shortcut from working.
Using the Menu After It Opens
Once the menu is visible, take a moment to review the available sections. The schematic manager lets you load and manage saved designs, while the placement tools help you position a schematic in the world. Area selections are useful when creating a new schematic from an existing build.
You can also adjust rendering and visual settings so that holograms are easier to see while building. If you accidentally close the menu, simply press M again. Learning this shortcut makes it much faster to switch between Litematica’s building tools without leaving your Minecraft world.